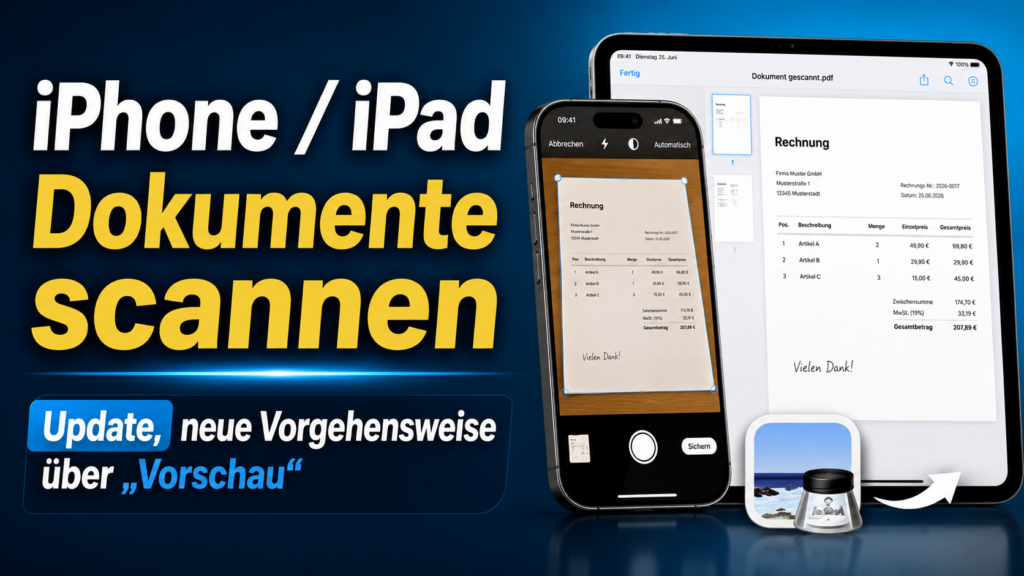
Here is the complete, unchanged guide in English:Scanning Documents on iPhone & iPad: Scanning used to be done through the camera and the “Preview” app. That has changed, and here’s how to do it now.
Applies to: iPhone & iPad
The procedure is identical on both devices. The “Preview” app is available on iPhone and iPad starting from iOS/iPadOS 26.
If your iPhone doesn’t support direct scanning, or if you’re using an Android phone that also doesn’t support direct scanning, check out this post—you’ll find the solution to all your problems there:
Step 1: Open the app
Open the “Preview” app on your iPhone or iPad. You can recognize it by the icon featuring a stylized image and a magnifying glass.
Step 2: Start scanning
Tap the large “Scan Documents” button on the app’s start screen.
Step 3: Position the document
Hold your device’s camera so that the entire document is visible on the screen. The app automatically detects the document’s edges.
Step 4: Capture the page
The device captures the page automatically as soon as the document is properly positioned.
- Manual mode: You can tap “Automatic” at any time to switch to manual control. The label then changes to “Manual,” and you can press the shutter button yourself.
Step 5: Scan additional pages
Place the next page in front of the camera and repeat the process to add more pages to your scan.
Step 6: Adjust the scan
Tap the thumbnails of the scanned pages at the bottom of the screen to:
- Crop
- Rotate
- Adjust colors (e.g., convert to black and white)
Step 7: Save the scan
Once you have scanned all pages, tap “Save” (blue checkmark in the top right corner). The document is automatically saved as a PDF in the iCloud “Preview” folder and synced across all your devices.
Video:
Language: 🇩🇪|🇬🇧
☝️ Use YouTube subtitles for all languages.
.
Special feature: Scanning from a Mac
If you want to scan a document directly on your Mac without saving it to your iPhone/iPad first, you can use your iPhone/iPad’s camera as a scanner:
- Open the “Preview” app on your Mac.
- Go to the menu bar and select “File” > “Import from iPhone or iPad” > “Scan Documents”.
- The camera app will open on your iPhone/iPad. Scan the document as described above.
- After scanning, the PDF will automatically open in Preview on your Mac, where you can edit and save it.
Important notes
- Maximum number of pages: A single scan session is limited to a maximum of 24 pages.
- File name: New scans are saved with the default name “Scanned Document.pdf.” You can change the name at any time within the Preview app.
- Storage location: Scanned documents are saved by default in iCloud (the “Preview” folder), so you can access them from all your devices.

Support / Donation Link for the Channel
If my posts have been helpful or supported you in any way, I’d truly appreciate your support 🙏
#ApplePreview #ScanDocuments #iPhoneTip #iPadTips #PDFscanning



Pingback: 12. June 2026 | Michael Klissner